Showcase #1: Vex by nedpals
An easy-to-use, modular web framework for V.
Introduction
Vex is an easy-to-use, modular web framework for V. It is inspired by projects such as Express, and is a great library to quickly build web applications with. It was created by a fellow V Developer: Ned Palacios. This article showcases Vex’s utility and shows off its features by building a toy API with it.
Note: The built-in web framework for V
vweb
is similar to Flask (the routes are defined as attributes). It is currently in
active development. It is also multi-threaded, while Vex is not (yet).
Getting Started With Vex
Prerequisites
First, make sure that you have V installed and are familiar with the syntax. Follow this guide if you need help with that.
Next, make sure you have updated V recently. Just do v up and you should
be good to go.
Creating A New Project
In a directory you own, run the command v new. Then follow the prompts
to initialize a new V project in a sub-directory with the same name as
the project name you choose.
Installing Vex
Change your directory to the new project directory, then edit the v.mod
file and add 'nedpals.vex' to the dependency list. Your file should look
something like this:
| |
The source for v.mod can be accessed here.
Once you’ve updated the file, run v install. It will check the dependencies
listed in the module file and install them.
Hello, World!
Now that everything’s installed, we can get started with a traditional “Hello, World!” app.
The detailed instructions can be accessed from the Wiki. The condensed version is presented here.
Open the project folder in your favourite text editor. For now, VSCode has the best support for V because we have published an official plugin for it here.
Modify the main .v file in the project and write the following code:
| |
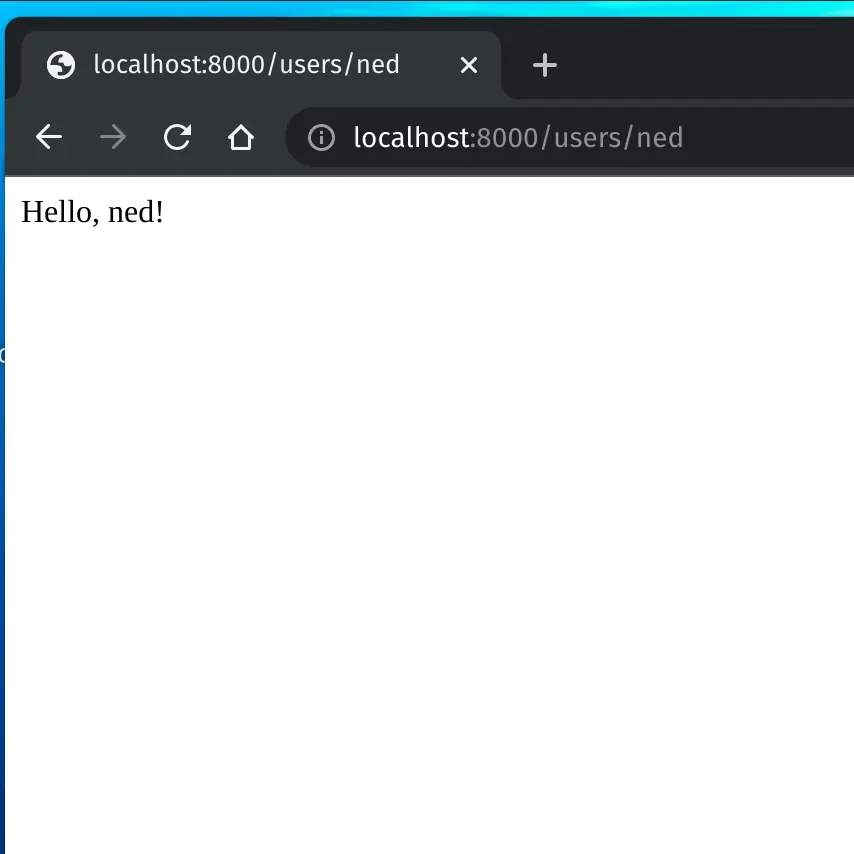
To run the web server, type v run . in the terminal. Then navigate to
localhost:8080/users/ned. You should
see something like this:
Tip: In order to watch changes and recompile on save, use v watch run .
instead. You will need to refresh the page, but you won’t need to restart
the web server.
Explanation
Line 1 states that we are in the main module. This module’s scope is
all of the files in the root directory, and this module should have a function
named main in one of the files (by convention).
Lines 3-5 import the various submodules in vex that we will use.
The main function starts from line 7. In it, we define a mutable instance
of the app, on which we define one or more routes. Here, we add a route
to /users/:name through the .get method, and pass a handler to it.
Inside the function handler, we retrieve the path variable name and then
return a custom response based on the path entered.
Finally, we serve the app on port 8080.
Adding A Simple Homepage
Currently, if you navigate to localhost:8080
you will get a 404 error. In order to remedy that, you can add a new
route for / to the app like this:
	app.route(.get, '/', fn (req &ctx.Req, mut res ctx.Resp) {
		res.send('This is the homepage. Navigate to /users/ned', 200)
	})
Now navigate to this page, or refresh the page if you’re already on it. You should see the expected text appear.
Vex Random API
Now that Vex is functional, we can design a more complicated example to use some advanced features such as:
- HTML Templating
- Static File Serving
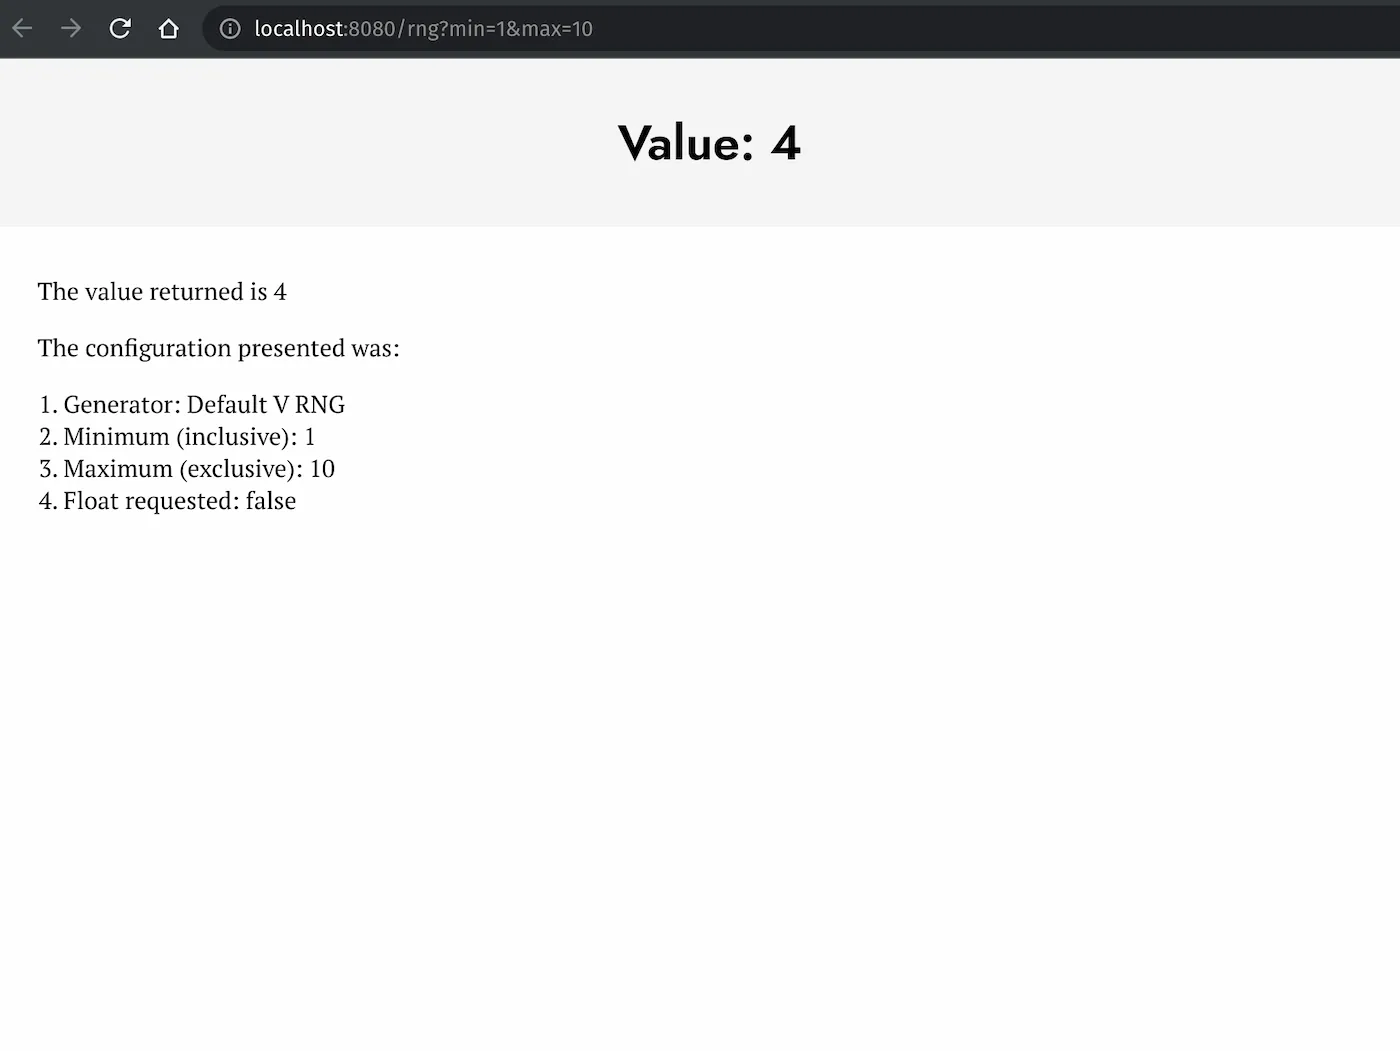
In this example, we make a web app that returns a pseudo-random number based on a set of parameters.
API Design
We will expose two endpoints in the app.
- The homepage is a static HTML page which will be served at the
root
/as the homepage. - An application endpoint at
/:generatorwhere the generator can be one of the supported PRNGs present in vlib. It will also take query parameters that control the nature of output.
Code
The complete and updated source code for this project is available here.
Directory structure for the project should look like this:
├── generate.v
├── layout.v
├── static
│   ├── index.html
│   └── style.css
├── vex_example.v
└── v.mod
Here is a brief description of all the files.
index.html and style.css are regular HTML and CSS files in the static
directory which can be found
at this location.
v.mod is the same as we already have. It lists nedpals.vex as a
dependency. Link to full
source code.
vex_example.v (or whatever you named your project) will contain
the main function. Inside the main function, we define the app,
and the various routes that it will be able to accept. Here is a
condensed version:
module main

// imports

// constants

struct APIResult {
	title       string
	description string
	value       string
}

// valdation function

fn main() {
	mut app := router.new()

	// Serve the static files first
	app.route(.get, '/', fn (req &ctx.Req, mut res ctx.Resp) {
		res.send_file('static/index.html', 200)
	})

	app.route(.get, '/style.css', fn (req &ctx.Req, mut res ctx.Resp) {
		res.send_file('static/style.css', 200)
	})

	// Handle PRNG API requests
	app.route(.get, '/:generator', fn (req &ctx.Req, mut res ctx.Resp) {
		query_parameters := req.parse_query() or { defaults }

		min := validate('min', query_parameters)
		max := validate('max', query_parameters)
		float := validate('float', query_parameters)
		json := validate('json', query_parameters)

		generator := req.params['generator']

		result := generate_random_number(
			generator: generator
			min: min
			max: max
			float: float == 'true'
		)

		if json == 'true' {
			res.send_json(result, 200)
		} else {
			if result.value == '' {
				content := [
					html.tag(
						name: 'p'
						text: 'An error occured.'
					),
					html.tag(
						name: 'pre'
						text: result.description
					),
				]
				res.send_html(layout(result, content).html(), 200)
			} else {
				normalised_max := if max == '-1' { 'unspecified' } else { max }

				content := [
					// list of html.tag()'s
				]
				res.send_html(layout(result, content).html(), 200)
			}
		}
	})

	server.serve(app, port)
}
For the full updated source code, refer to this file.
layout.v is in the same directory as the rest of the code. By default,
all files in the root directory (which contains v.mod as an anchor)
are considered to belong to the main module. All functions in all
files are accessible to other files in the same module (directory).
If the function (and constants) are declared public with pub, then
they are accessible outside the module as well.
This file contains the layout function that takes in a list of
html.Tag structs and properly formats them into a tree of tags.
The tree is then rendered into semantic HTML (by Vex) and returned
as the result of a GET request. A truncated version of the code follows:
module main

import nedpals.vex.html

fn layout(result APIResult, content []html.Tag) html.Tag {
	title_text := '$result.title | Vex Random Number API'
	return html.html([
		html.block(
			name: 'head'
			children: [
				// meta tags
			]
		),
		html.block(
			name: 'body'
			children: [
				html.block(
					name: 'header'
					children: [
						html.tag(
							name: 'h1'
							attr: {
								'id': 'hero-heading'
							}
							text: result.title
						),
					]
				),
				html.block(
					name: 'main'
					children: content
				),
			]
		),
	])
}
The complete version of the code is available here.
Finally, we have generate.v which generates the pseudo-random numbers
based on the given options. We leverage the built-in rand module
(and its submodules) for this. This file makes use of the
configuration struct approach - V’s recommended way for managing
named parameter arguments. The struct GeneratorConfigStruct is
initialised with the arguments necessary. The ones left uninitialised are
assigned the default zero values. This is in-line with V’s philosophy of
avoiding undefined, nullable values as much as possible.
The source for generator.v follows.
| |
Link to source on GitHub.
Running The App
Running the app is easy. In the root directory, run v run . to start
the server.
If you want to change the port, add an environment variable PORT and set
it to your desired port number. Alternately in bash (and related shells),
you can start the server with PORT=5555 v run . which will set the
environment variable and run the server in a single line.
You do not need to have V installed if you want to deploy the app to a
server. You can create an executable simply by running v . as a command.
Additionally, you can create an optimised executable by running v -prod .,
for which you need to have a dedicated C compiler like GCC, Clang, or
MSVC installed. Make sure to compile the app on the same OS and architecture
as the deployment target. Then you can run the executable without waiting
for it to compile again (which takes significantly longer when -prod
is used). Copy the static folder and place it in the same directory as the
generated executable. No other dependencies required.
Advanced
V also supports embedding files in the final executable, so you could remove
the necessity for copying the static directory by embedding those files
directly, leaving you with a single file. This is not recommended for
prototyping because any changes you make to the stylesheet or homepage
will be reflected after you restart the web server. However, once you’re
done, this will simplify deployment. This exercise is left to the reader
(or possibly a future article).
Closing Thoughts
Vex is a very simple framework, and it takes very little effort to start being productive with it. It leverages several features of V, such as the strong typing, convenient syntax, and good developer experience to help make the life of the developer easier. This combination is generally resistant to runtime errors (by eliminating them at compile time).
If you’re open to experimentation, and want to make an efficient app quickly, you can try Vex. Let us know about your experience in our official Discord Server!
Contributing To Vex
If you want to help improve Vex, the best place to start would be building more stuff in Vex. The more people use it, the more bugs will surface and they will be fixed sooner. You can also help discuss and implement new features such as support for multi-threading, expanding middleware support, more robust templating, and so on.